
4 simple but effective ways to enhance your next animation
Animation and infographic projects can be as simple or as complex as you need, to illustrate the narrative you’re trying to tell. You also don’t have to be an expert to master the process of animation, thanks to online animation packs and YouTube tutorials. But here a few tips I’ve learnt that add that extra element to your animation, no matter what it is, to take it to the next level.
For this post, I’m talking about animation specifically within Adobe After Effects, which is what we use at Newcast Studios when producing in-house animations for our clients. However, all of these principles can definitely apply to wider ideas and concepts of animations and infographics.

1. Colour Palette
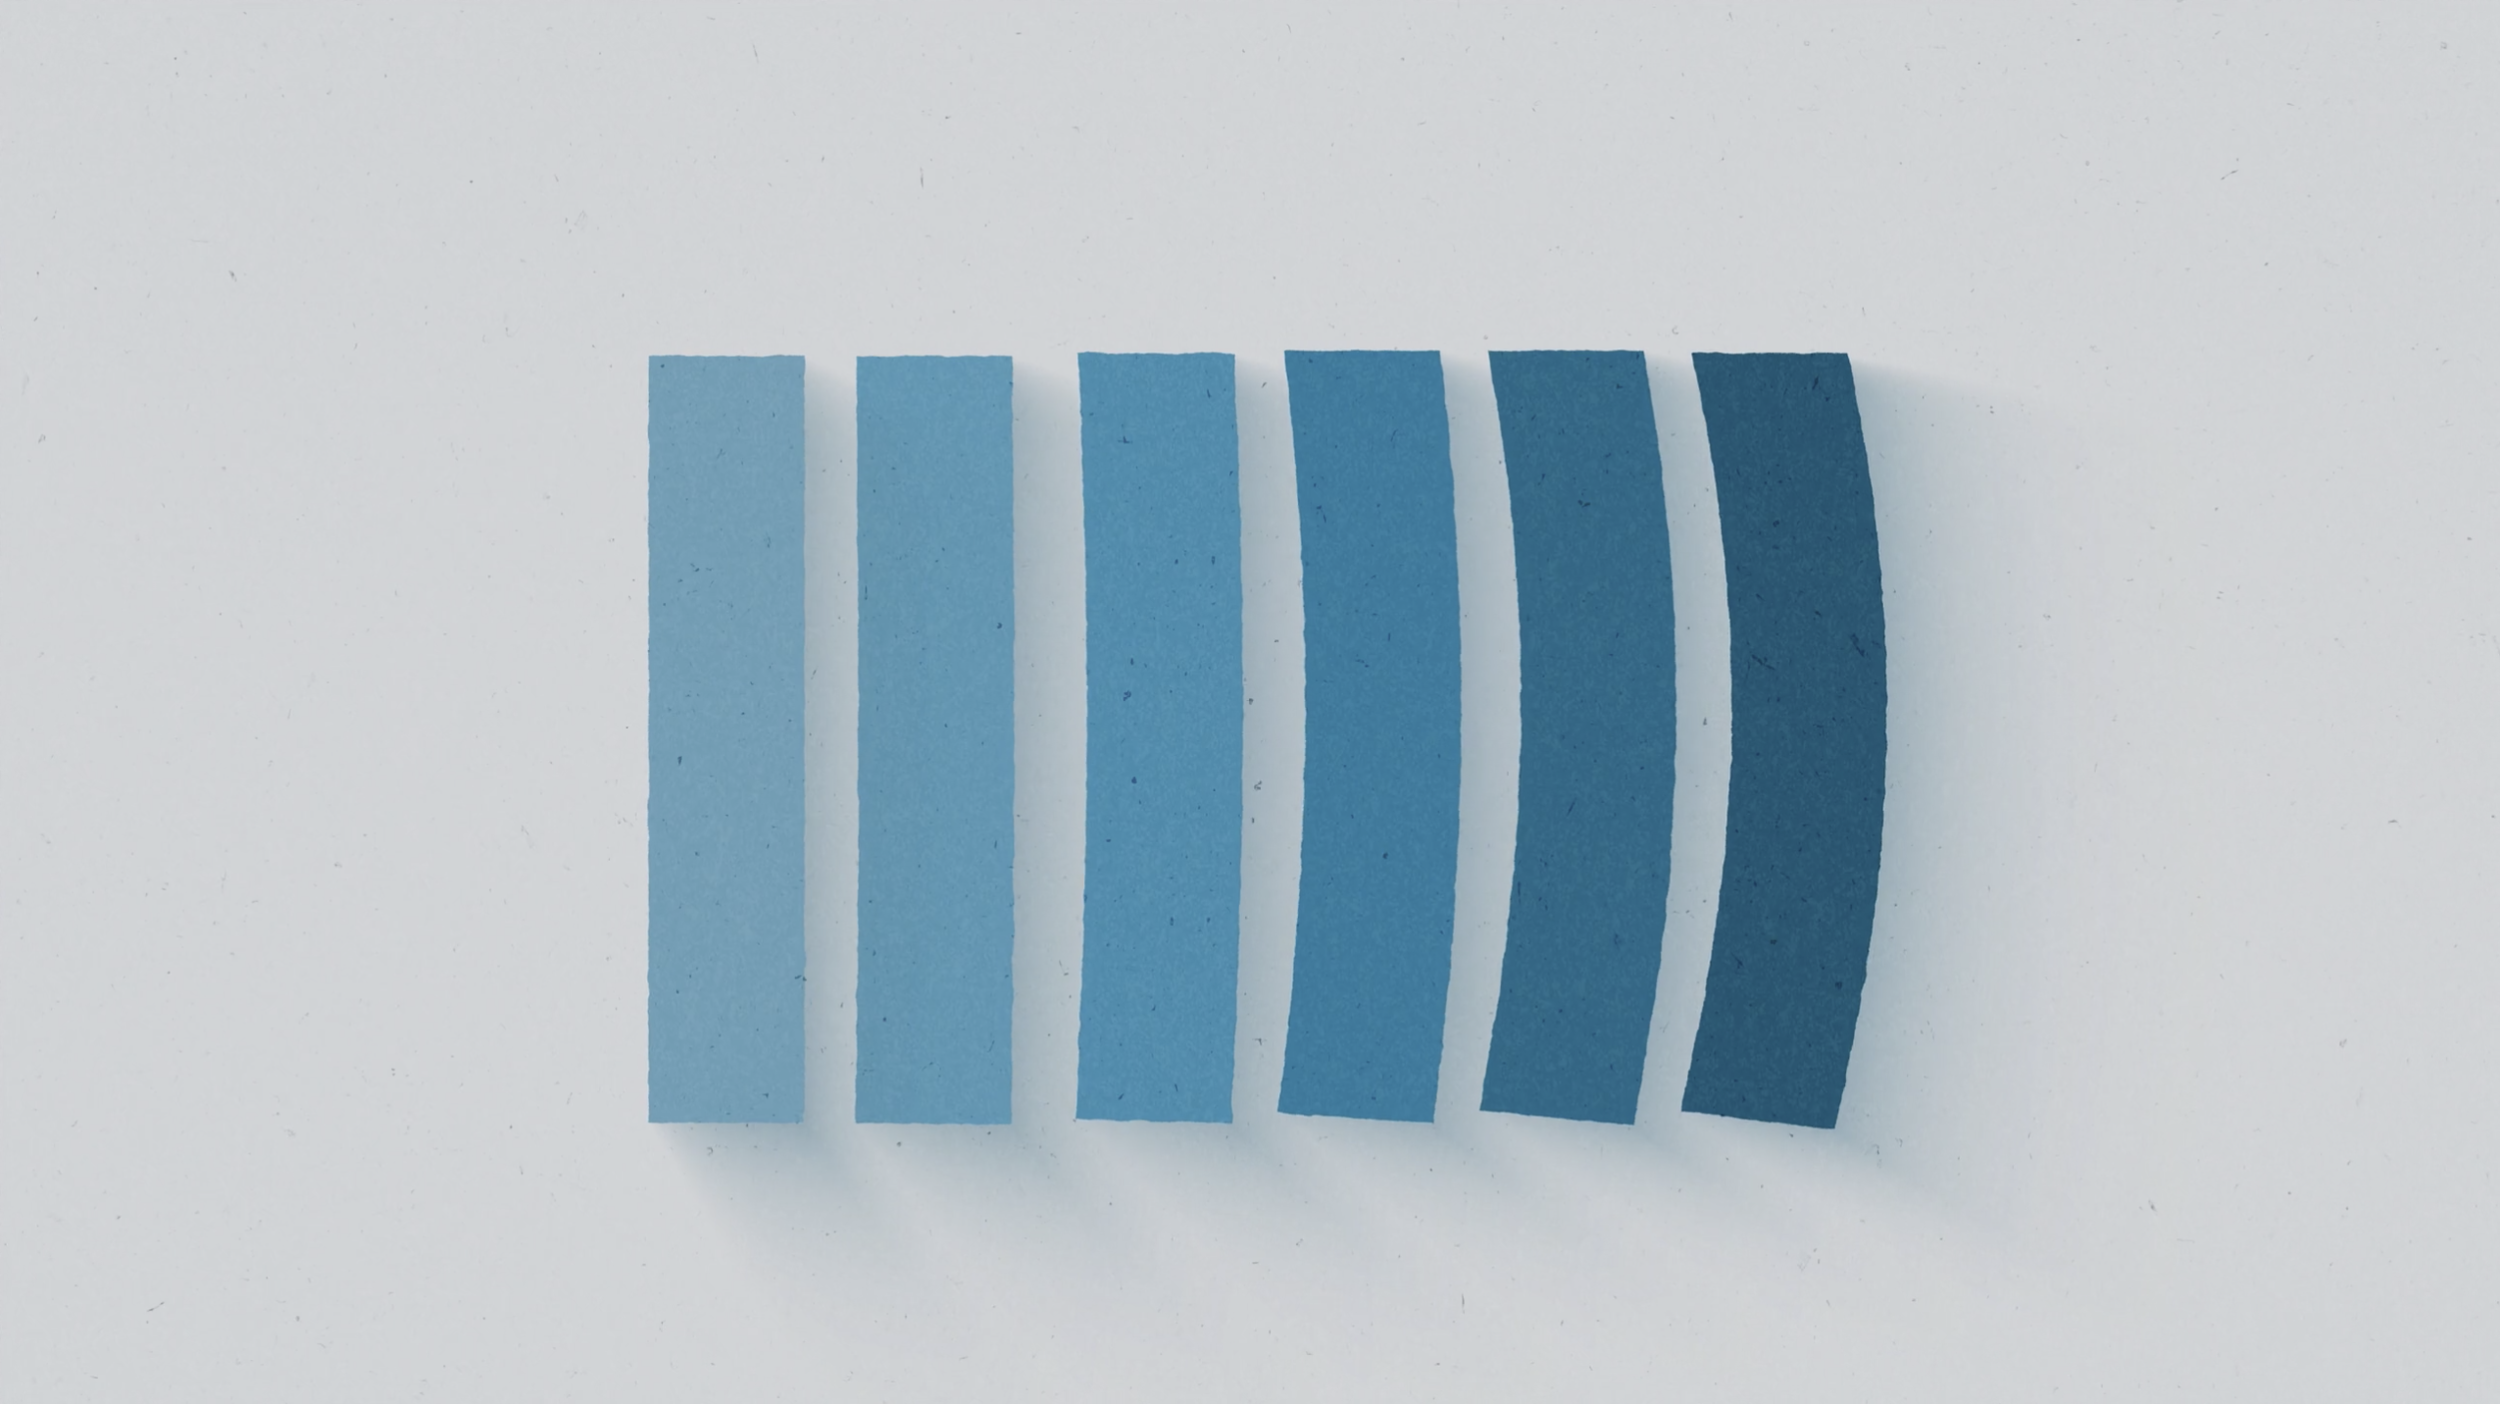
While you (hopefully) have a script and a storyboard you can follow for your animation, it is also very important to get the initial aesthetics locked in before you get too far into the process. Aesthetics can be wildly different for each animation you produce, and it’s important to find out what the client is after. But no matter what style you’re going for, having a set colour palette brings everything together.
I find being strict to a colour palette changes everything for me when I’m animating. Firstly, it makes sure that you follow any branding guidelines you may have to adhere to; but it also makes everything within the animation match aesthetically.

If you don’t have branding guidelines to follow, don’t look at this as a free-for-all in terms of colour – it’s still important to have a palette to adhere to. I like to use a website called coolors.co – you can find lots of colour palettes there. There is a generator, where you can pick and match different colours to see how they look next to each other, but I also just like going to look at the trending palettes for inspiration and to see what is in at the moment.
2. Ease In / Ease Out
Ease Ins and Ease Outs are a staple of After Effects, and they immediately make all your animation movements look smoother by literally easing the motion as it starts, or ends, or both. The theory behind ‘eases’ is that humans and objects take time to accelerate and decelerate, so your animations should too, to make them look more natural and believable to the human eye.
This effect can be applied to any keyframe just by right-clicking on it and adding an Ease In or Ease Out. Utilise Ease Ins for when you want an object to ease it’s way INto it’s movement as it stops. And, for Ease Outs, it’s the opposite – use this when you want your object to ease it’s way OUT at the beginning of its movement.
There are many other options around these movements. But for baseline improvements to animation, add an Ease Out on your first keyframe and an Ease In on your last, and see what a difference it makes to the movement of your objects.
3. Texture
One problem you may encounter by the end of a project, and I certainly have, is finding that the animation looks quite ‘flat’. Texture can always add an extra element to your animation and heightens it from being ordinary. This doesn’t have to be a difficult task either – you can simply add a texture overlay to your project and set it to one of the many ‘blending modes’ to choose from, that make it more subtle and blend beautifully with your objects.
I highly suggest a rotating set of textures, that literally just have to change between each other every 2 or 4 seconds, so that there is always a subtle movement in them – this can be for the whole project in general, to give the project a global texture, or, try adding textures within each object as well, which can be achieved through precomps, or through masking the texture to the objects.
This can look really effective, having individual objects and backgrounds have their own texture, and creates an almost 3D illusion. Like the idea of a 3D illusion? Try drop shadows on your objects. Or, delve into the complicated world of 3D animation within After Effects by adding Camera layers or Light layers to create shadows, or alter your animations in different angles.
5. Sound
Sound is so important to any audio/visual media, but in an animation, when everything is based around drawn objects, sound can add the extra element needed to make your project feel real and believable. The key to this is subtlety. Whooshes and whips are my most used sound effects. Even at a barely audible level, when I add a whoosh or a whip to an objects movement, they actually give the audience more sensory indicators to tell them that the objects are moving in a certain kind of way.
But hey, sometimes subtlety isn’t key. Even loud, more obvious sound effects can be very effective. I have used sound effects to create a sense of comedy on projects before. It all comes down to what you’re trying to achieve with the project, as to how you utilise sound effects. Regardless, an animation with sound effects is always going to be more elevated than one without.
There’s my 4 key tips to heightening your next animation project. At Newcast, we do animation projects of all budgets and sizes, and have been producing ours in-house with these exact techniques in mind. For 2D, 3D, infographic, or character animations, talk to us today about your next animation project.